亚洲未成18禁止进_中文字幕第一区高清av_久久AV喷潮久久AV高清_gogo亚洲肉体艺术p
<dfn id="wux14"></dfn>
中文
English
網(wǎng)站首頁(yè)
關(guān)于我們
產(chǎn)品展示
山梨醇
山梨糖醇
廠(chǎng)區(qū)圖片
熱銷(xiāo)產(chǎn)品
行業(yè)資訊
資訊信息
產(chǎn)品知識(shí)
客戶(hù)留言
公司資質(zhì)
聯(lián)系我們
產(chǎn)品展示
Product
查看更多 +
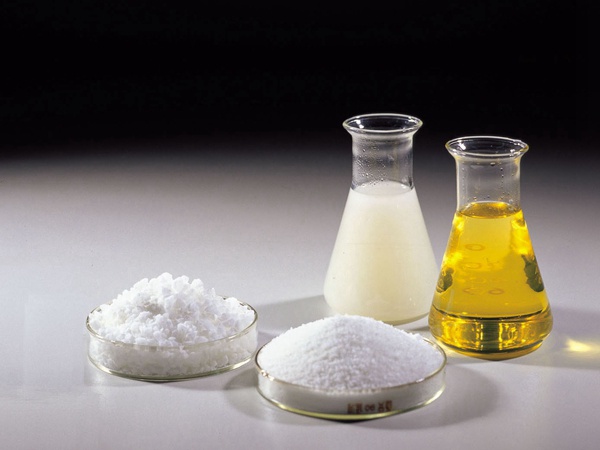
醫(yī)藥級(jí)山梨醇
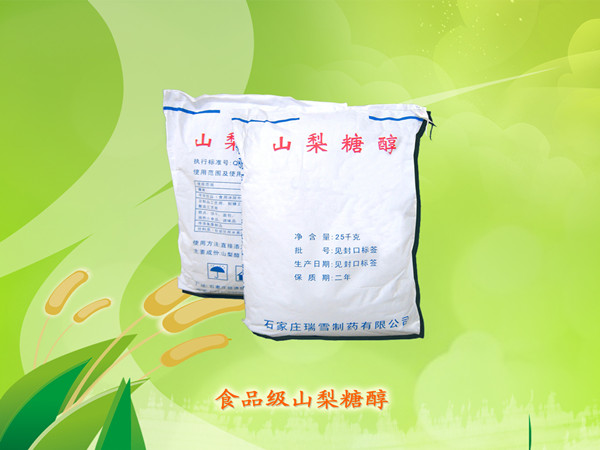
食品級(jí)山梨糖醇
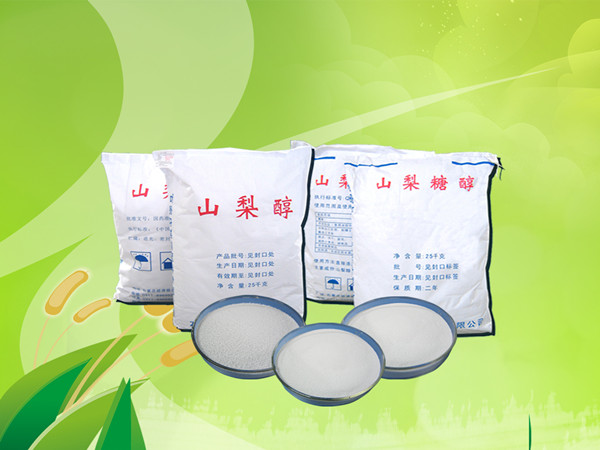
山梨醇糖醇
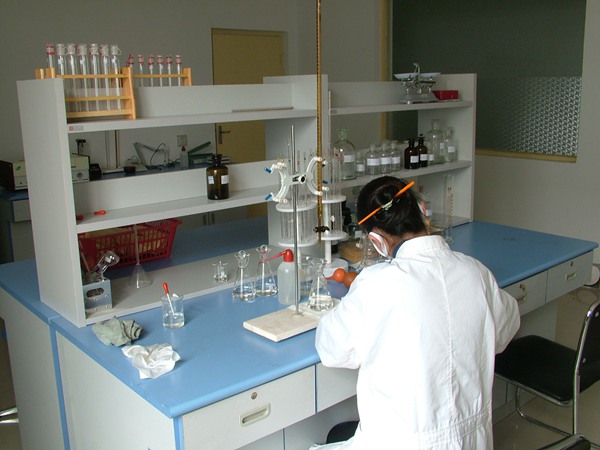
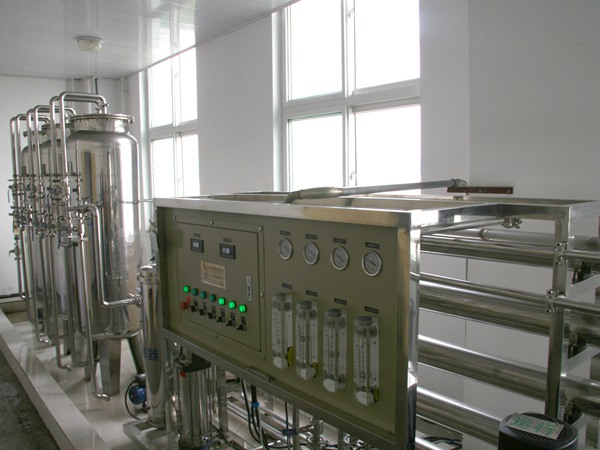
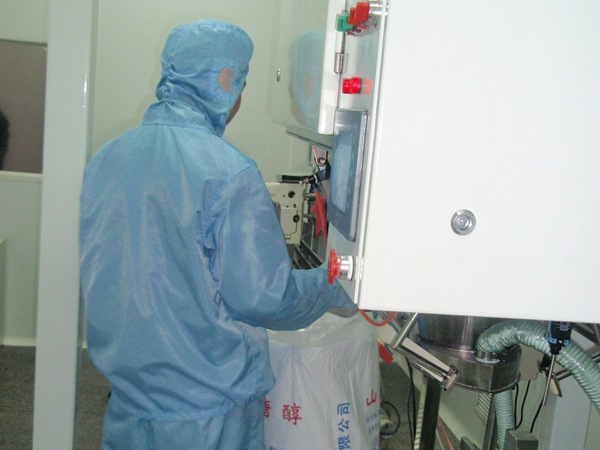
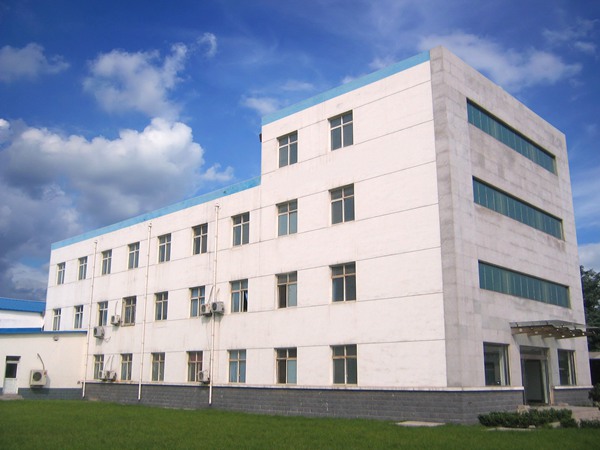
廠(chǎng)區(qū)圖片
Factory picture
查看更多 +
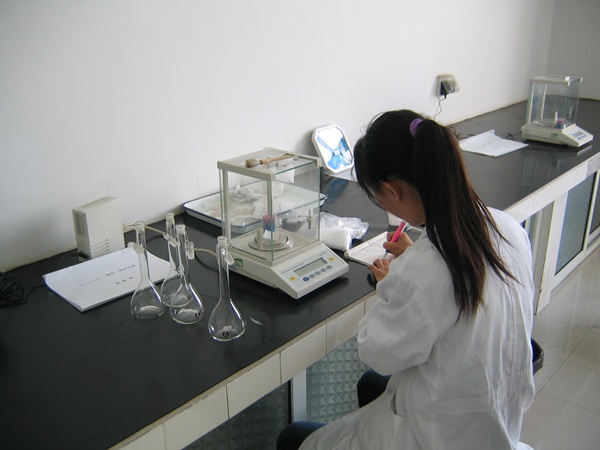
化驗(yàn)室
化驗(yàn)室
車(chē)間內(nèi)
車(chē)間內(nèi)
辦公樓
行業(yè)資訊
news
查看更多 +
誠(chéng)招代理商
2018/05/28
山梨糖醇的應(yīng)用
2018/05/22
山梨糖醇的化學(xué)性質(zhì)
2018/05/22
山梨醇的主要用途
2018/05/22
山梨醇的食品特點(diǎn)
2018/05/22
聯(lián)系我們
contact
地址:河北省石家莊市經(jīng)濟(jì)技術(shù)開(kāi)發(fā)區(qū)清源街6號(hào)
醫(yī)藥山梨醇:0311-89699222
食品山梨糖醇:0311-89699228
公司資質(zhì)
honor
查看更多 +
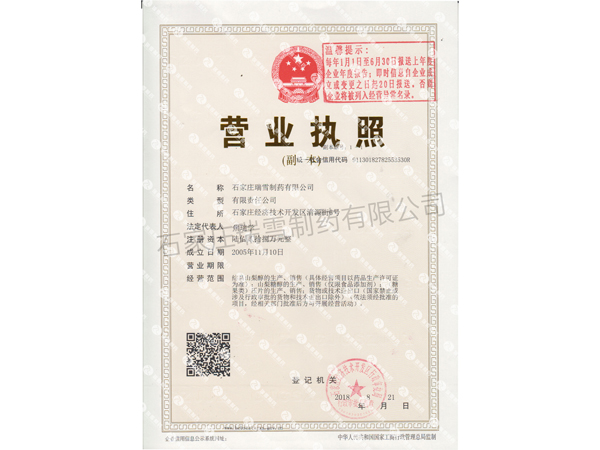
營(yíng)業(yè)執(zhí)照
藥品生產(chǎn)許可證
熱銷(xiāo)產(chǎn)品
Hot product
查看更多 +
友情鏈接
links
百度
行業(yè)資訊
廠(chǎng)區(qū)圖片
地址:河北省石家莊市經(jīng)濟(jì)技術(shù)開(kāi)發(fā)區(qū)清源街6號(hào) 電話(huà):0311-89699228 版權(quán)所有:石家莊瑞雪制藥有限公司
冀ICP備15024679號(hào)-1

 醫(yī)藥山梨醇:0311-89699222 食品山梨糖醇:0311-89699228